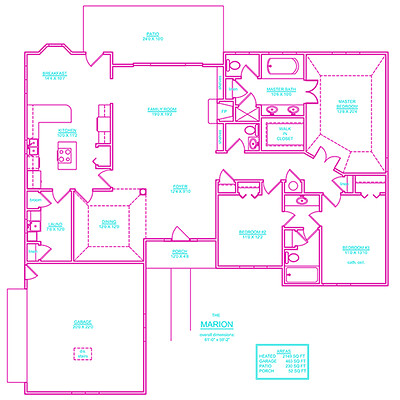
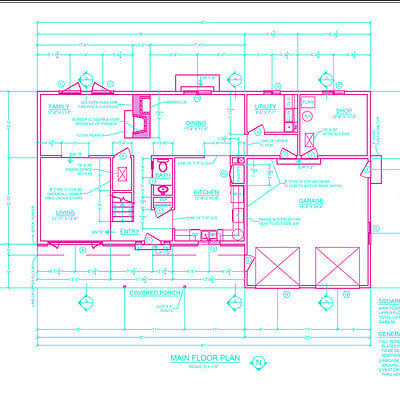
Tiny Home Project First Floor Plan A1

Tiny Home Project Second/Loft Floor Plan A2

Tiny Home Project Roof Plan A4

Tiny Home Project Front and Left Elevations Plan E1

Tiny Home Project Back and Right Elevations Plan E2

Tiny Home Project Front and Back Section Views Plan E3

Tiny Home Project First House Section Views Plan E4

Tiny Home Project Second House Section Views Plan E5

Tiny Home Project First Floor Electrical Plan MEP5

Tiny Home Project Second/Loft Floor Electrical Plan MEP6
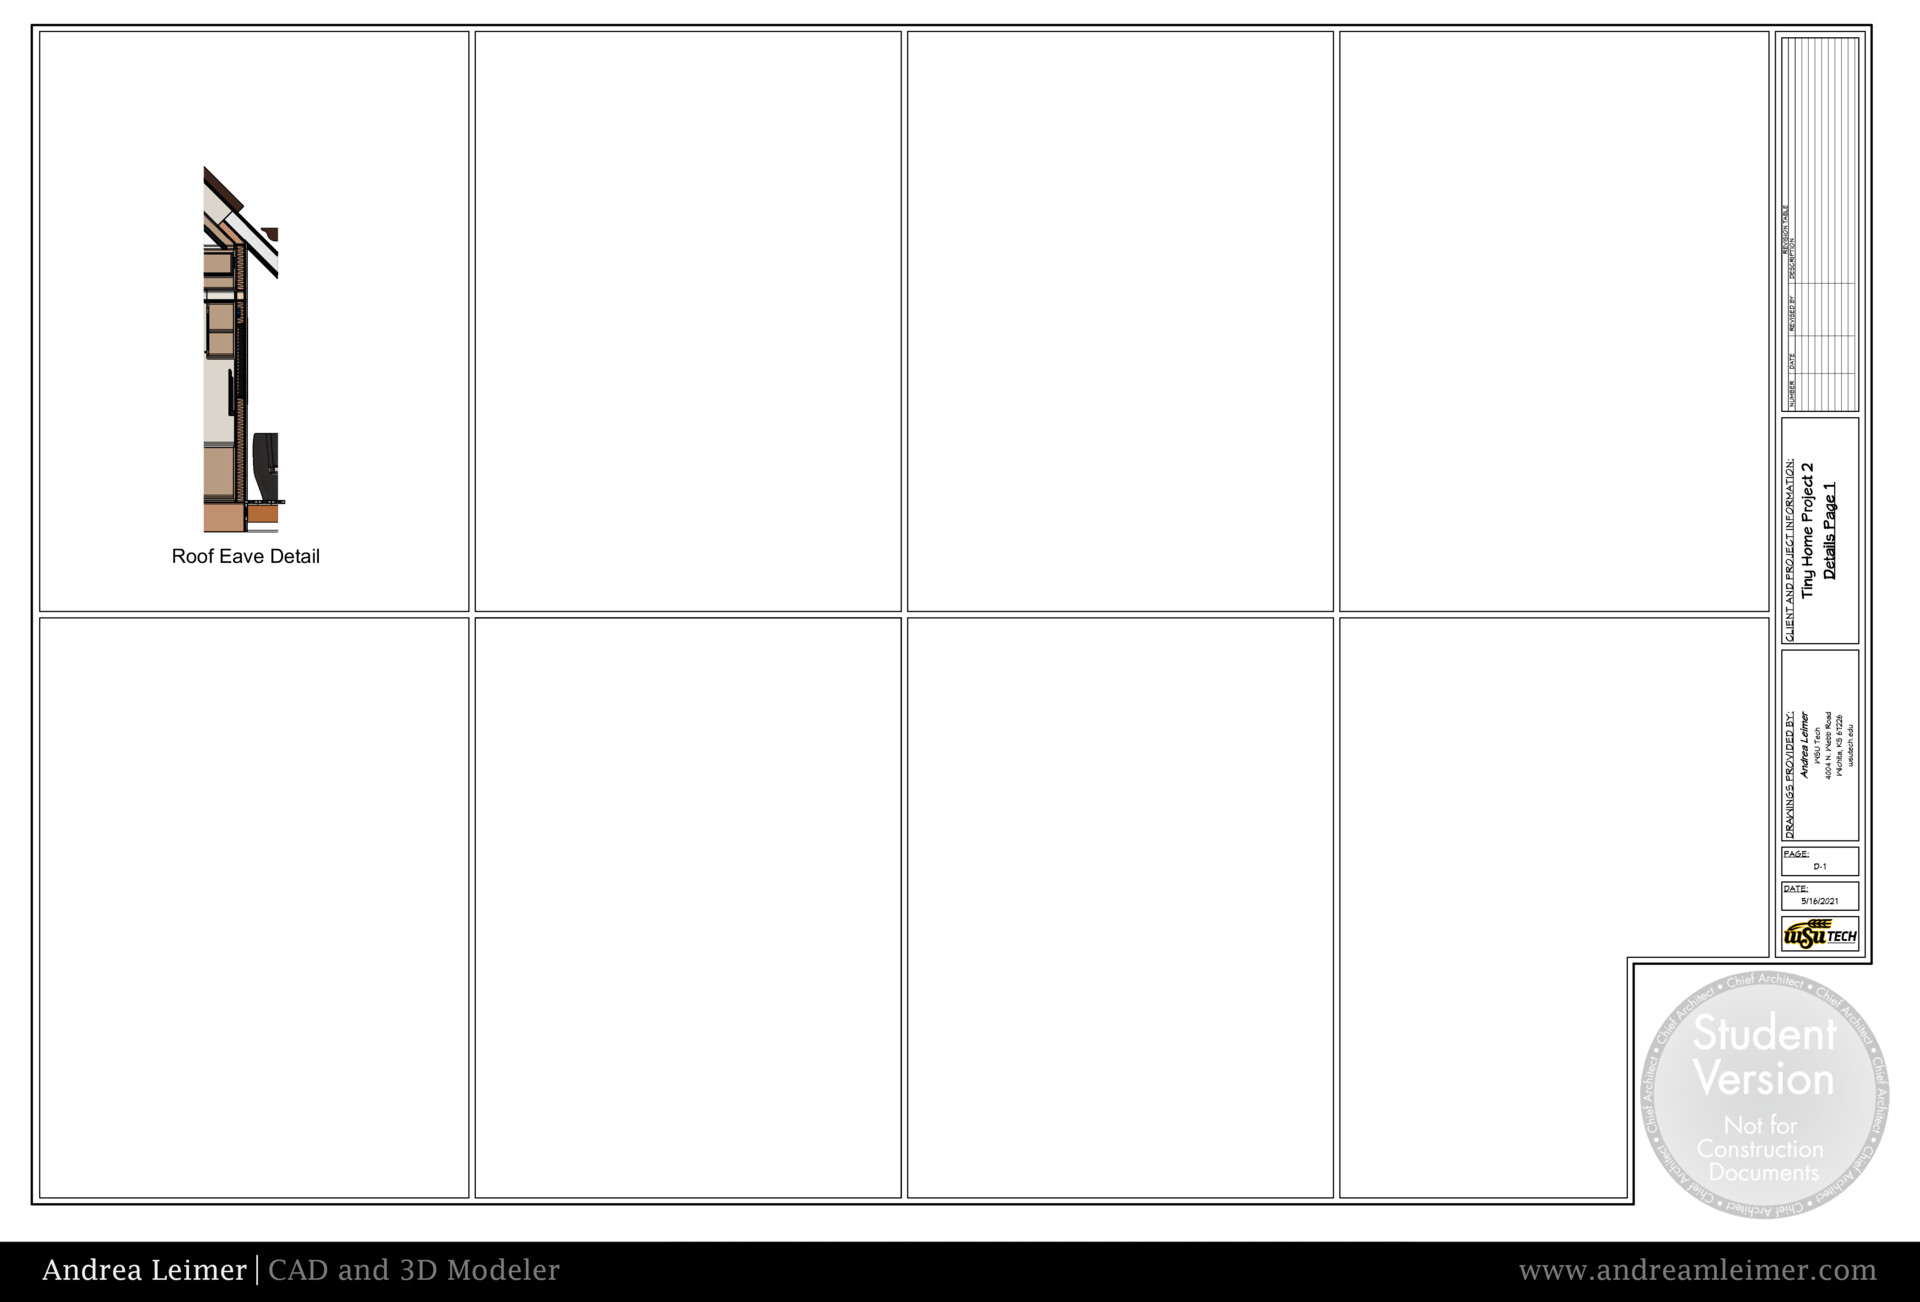
Tiny Home Project Roof Eave Detail

Tiny Home Project Schedules

Tiny Home Front View

First house looking into kitchen, and living room, and office.

First house stairs in kitchen.

Second house living room.
A blueprint of tiny home made up of two tiny homes connected by a deck and a pergola. On the first house I drew walls that matched the dimensions allowed for a 8'-5" x 26'-5" wide trailer, and adjusted one end to fit the bay window. I then put down walls that would not only help designate the spaces from each other, but also support the two lofts that could both support a queen size bed. In the bathroom I decided to put the toilet in the shower to conserve on space, and divided the closet and pantry from the bathroom. After I worked on the living room area and put in a breakfast/dining area and a space to watch TV. In the kitchen I put in steep stairs that doubled as storage, and placed railings to help get up to the lofted bedroom. I also made a space to put away a ladder that could be used to get to the lofted storage area. After completing the first floor, I put in the roof and created a second story. I then adjusted the height to make it fit within the space provided by the roof. I created an opening above the kitchen area, and put in a queen size bed in the bedroom, and an office/storage area on the other side. I then finalized the tiny home with doors, windows, railings, and lights.
An addendum was later made to include a second tiny home that had another bedroom, bathroom, and living room. I again created walls that would fit the newly added 8'-5" x 20'-5" trailer, and I drew in a wall to support another lofted queen size bed. The bathroom for this house had enough room to put in a toilet outside of the shower, and I drew in two closets that could be used for storage. I made the living room to be big enough to host guests, and included seating along the windows that could also be used for storage. I also created more storage around the TV in a modern style. After, I created the roof, put in the second floor and made it fit under the roof, and then put in a queen size bed. I finished the house with doors, windows, railings, and lights. Finally I put in a 12' deck between the two tiny homes, put in a pergola that would cover the space, and put in terrain, trees, and bushes to be used for rendering.